It's has been a while since I posted anything up here but this project is without a doubt the biggest hobby project I have ever undertaken and probably ever will again mind.
Here is the step by step photo log of me building and sculpting Smaug.
Don't forget the image thumbnails can biggify.
The recipe:
-3 old Citadel paint pots
-3 corks
-A small gorilla pod
-An old Lego palm tree bole
-Lego tyre
-Some Bamboo chopping board
-Old LotR ruin
-Wire
-Mdf board
- Card
-Coffee stirrers
-Magnets
-10 Packs of standard milliput
-40" of Kneadatite (Green stuff)
-3/4 pack of pro-create
- About 180hours of time... ish
-3D printed latex gaming mat sample
Now for the tools:
-Scissors
-Knives (1 for putty cutting, 1 for cutting the base)
-Plastic paint brush
-Pliers
- Hand drill
-Camo trouser pocket
-Lots of super glue
so to begin with I glued up a frame... to find appropriate material for the armature demanded me to use a little bit of immagination so I begun, using the things I had lying around my room and house. notice the neck is a palm tree
Notice below the tail extension using wire,
Tiny balrog.
Below you can see how I made the base, it took me several attempts on MS paint and printing to get the base to the correct GW size, But I got there in the end, then the template was used to mark out on the Mdf the base...
At this stage Smaug had overstepped his bound so I had to break his back right leg to fit inside the perimeter of the base, it is pretty narrow after all.
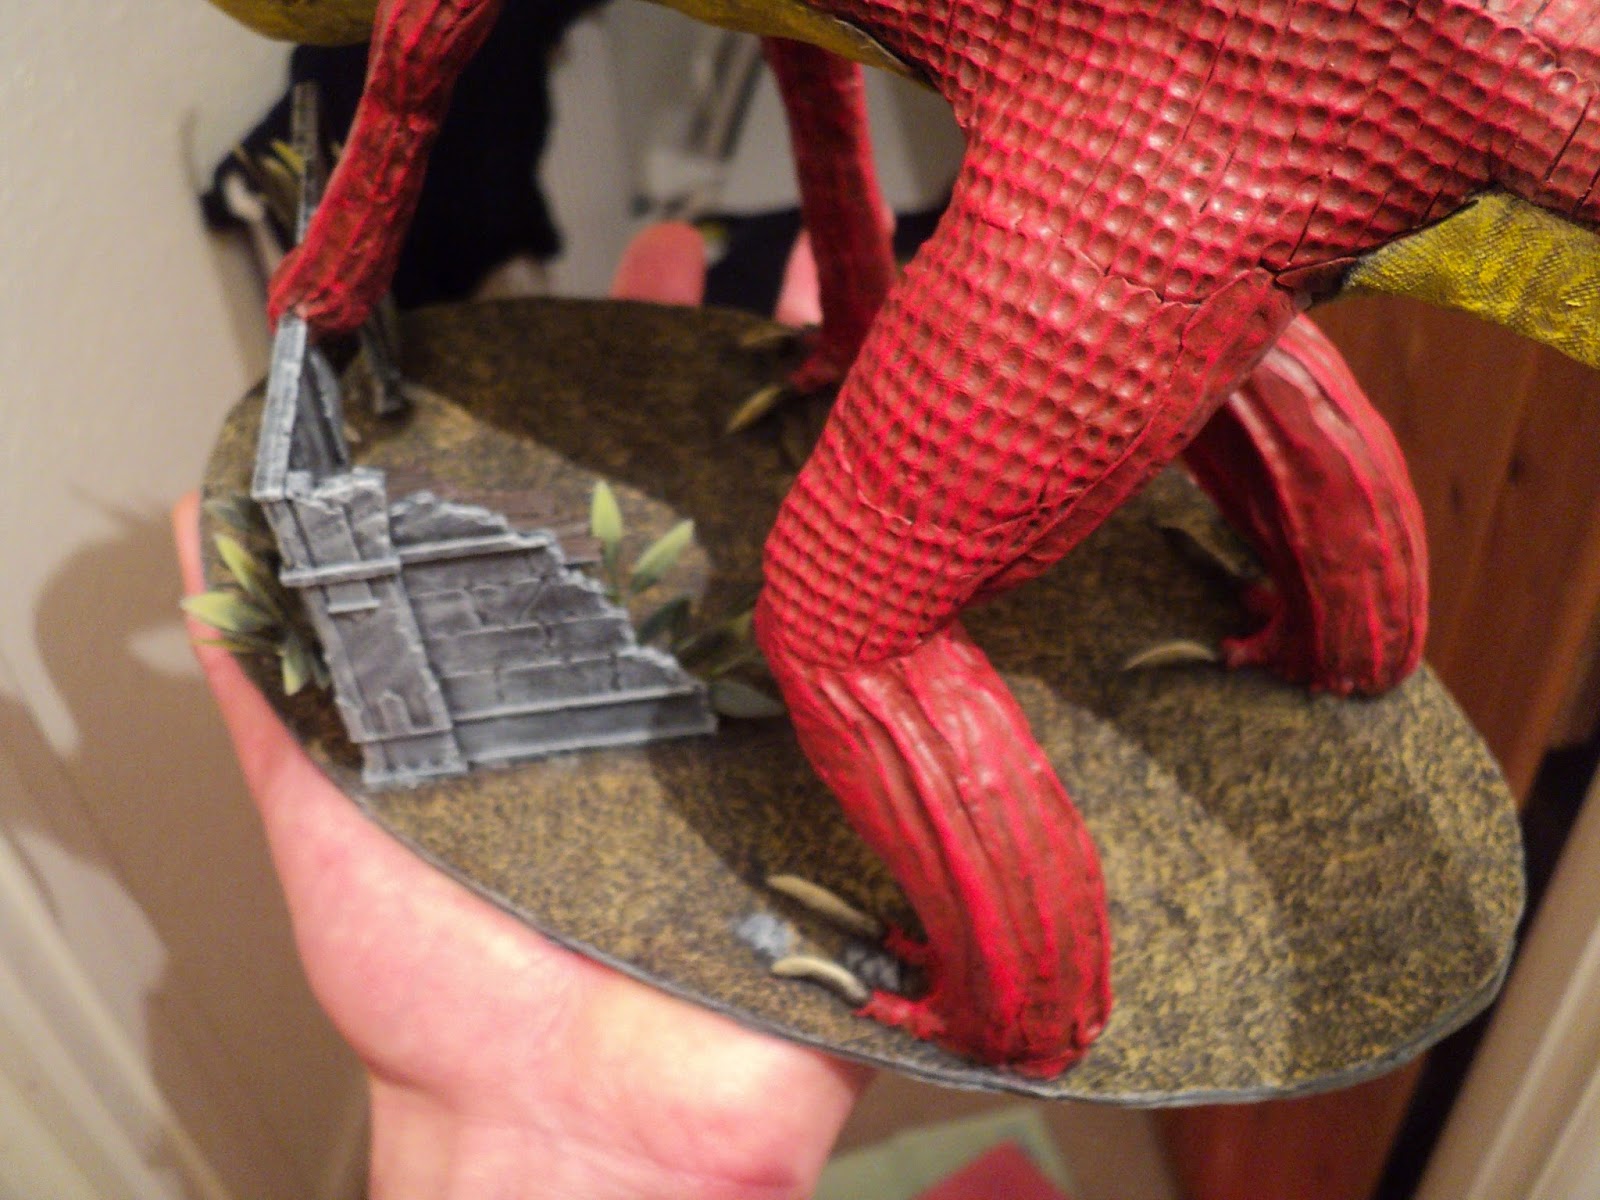
I then used some spare sample printed latex gaming mat made by Zuzzy miniatures to avoid basing the bugger with sand and other crap that would over time come off or just annoy me.
Below the armature now almost completely covered in the first layer of milliput, those are Uruk hai bersekers and such in the foreground.
Side note, Milliput is really not adhesive to cork, it was a real pain in the ass this stage.
Wing being created out of sticks and card.
Below an attempt at texturing using a T-shirt. this was not a successful texture.
Old GW dragon looks small against the wing of this guy.
Early head work.
the Spikes are in place
Trip to the dentist
Hand taking shape
back claws also being worked on now
overall structure of the model coming together, click on the image, there is a cave drake in there(below)
Smaug gets his first armour patch...
going all the way down the tail
Texturing is well underway
the wing membranes filled in.
Tendons are added, as the lower limbs will not have any armour
Magnet in place
Legs are done
From below downwards the model is finished, no more sculpting needed
I believe that is an A2 sheet of foam card beneath those two to give you an idea.
What lovely nashers you have
wing complete
Below the texture of the underbelly, this texture goes fromm the neck to the tip of tail
The finished head
One Smaug model
Now he just need some damn paint and extra vegetation around his base. There will be a wip of the paint soon.